Video guides
2 step-by-step guides · kept updated as tools change
Video AI is the loudest corner of the market and the least documented. CapCut ships features faster than anyone can write help pages, Runway keeps redefining what text-to-video means, and every other week a new tool promises an edit with one click. The catch is the same everywhere: the demo looks magic, the first attempt looks amateur, and the difference is knowing which settings matter. These tutorials walk you through real edits on real footage, from auto-captions to AI effects to full text-to-video experiments. We keep a close eye on export limits, watermarks and render queues on free plans, because that is where beginners get stuck. If you publish to YouTube, Reels or Shorts, start with CapCut for editing and Runway for the generative stuff, and read the verdict boxes before you pay anyone anything.
 Guide
CapCut AI Features Tutorial: What to Use and What to Ignore
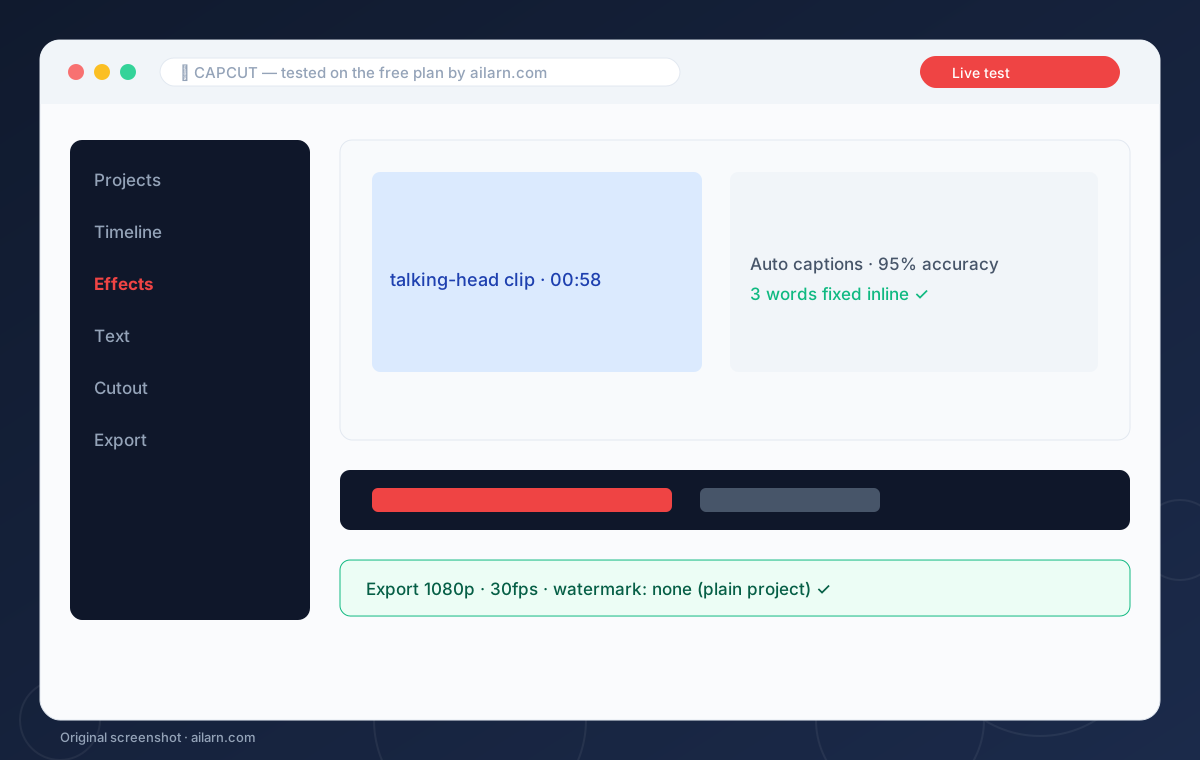
CapCut’s useful AI features are auto captions, background removal, text-to-speech and the AI effect library. Open a project, tap Text, then Auto captions, and CapCut transcribes your video in about a minute. Everything here runs on the free plan; per CapCut's own help pages, the export watermark comes from Pro templates and premium elements — plain projects export at 1080p clean.
 Guide
Runway Text-to-Video Tutorial: How to Stop Wasting Credits on Junk
To get a usable clip from Runway, write prompts in this order: subject, action, camera movement, style. One sentence each, no poetry. The free plan gives a handful of one-time credits, so rehearse in the prompt box and generate only rehearsed ideas. Expect 3 out of 10 generations to be usable, and budget credits accordingly.